A good inspection report records what each room looked like on the day, in enough detail that someone who was not there could picture it. At move-in it sets the baseline. At move-out it is compared against that baseline, and the difference, allowing for fair wear and tear, is what any deposit deduction rests on.
Use the checklist below on the visit, then turn your notes and photos into a printable report with the free inspection report builder. It runs in your browser and keeps photos on your device.
What should every inspection report include?
- The property address and the date of the inspection.
- Who carried it out, and who else was present.
- The type of inspection: move-in, move-out, routine or maintenance.
- Each room or area, with its condition, specific notes and photos.
- Meter readings, keys and fobs handed over, and smoke and carbon monoxide alarm checks.
- Anything that was not inspected, such as a locked loft, and why.
Unrecorded items should never be assumed to be in good condition. Write “not inspected” rather than leaving a gap.
How do you describe condition so it holds up later?
Be specific and factual. “Good condition” means little in a dispute. “Light scuff, about 10 cm, on the wall to the right of the door, at hand height” means a lot. For each item note what it is, where it is, its condition and its cleanliness. Use the same words at move-out as at move-in so the two are easy to compare.
- Your photosPhone or photographer
- Edit and stageEnhance, declutter, stage
- Make the videoEffects, music, branding
- PublishPortals and social
Room-by-room inspection checklist
Entrance and hallway
- Front door, locks, letterbox and doorbell
- Walls, ceiling, skirting and flooring or carpet
- Light fittings, switches and sockets
- Smoke alarm tested
- Stairs, handrail and banisters
Living room
- Walls, ceiling, paintwork and marks
- Flooring or carpet, including stains and wear paths
- Windows, handles, locks, glazing, blinds or curtains
- Radiators, fireplace and any furniture provided
- Sockets, switches, TV and phone points
Kitchen
- Worktops, cupboards, doors and drawers, inside and out
- Sink, taps and plughole
- Oven, hob, extractor, fridge, freezer, dishwasher and washing machine: working, clean, manuals present
- Tiling, grout and sealant
- Flooring, walls and ceiling, especially above the hob
- Bins and recycling
Bedrooms
- Walls, ceiling, flooring and carpet
- Windows, locks and window restrictors
- Wardrobes, drawers and any beds or mattresses provided
- Sockets, switches and lights
Bathroom
- Bath, shower, screen or curtain, and tray
- Toilet, seat and flush
- Basin, taps and plugs
- Tiles, grout and sealant, including mould
- Extractor fan, mirror and cabinet
- Flooring around the toilet and bath for water damage
Outside and other areas
- Garden, lawn, paths, fences and gates
- Bins, sheds and garages
- Parking spaces and communal areas you are responsible for
- Loft, cellar and meter cupboards
How should you photograph a property inspection?
- Take a wide photo of every room from the doorway, then close-ups of anything worth noting.
- Put something in shot for scale when photographing damage, such as a coin or a tape measure.
- Photograph meter readings and keys.
- Keep the original photo files. Their metadata, such as the date taken, can matter later.
- Caption each photo with what it shows and where, such as “Bedroom 1, carpet stain by window, 15 cm”.
How do you make the report with the free tool?
- Open the inspection report builder and add the address, date, your name and the inspection type.
- Work through each area in the list, rename or add areas to match the property, and set a condition for each.
- Write specific notes and add up to eight photos per area, each with a caption.
- Preview the report, then print it or choose Save as PDF in your browser’s print window.
- Save the project file if you want to edit the report later, or reuse it as the starting point for the move-out.
Share the report with the tenant and ask them to confirm it or note anything they disagree with within an agreed time. A signed or acknowledged report is far stronger than one only the landlord has seen.
What counts as fair wear and tear?
Fair wear and tear is the deterioration you would expect from normal use over the length of the tenancy: lightly worn carpet in walkways, small marks from furniture, faded paint. Damage is beyond that: burns, large stains, broken fittings, holes in walls. How long the tenancy lasted and the age of the item when it started both matter, which is another reason the move-in report needs dates and detail.
What do the rules say?
In England and Wales, a tenant’s deposit must be protected in a government-approved scheme, and in a dispute the scheme’s adjudicator relies heavily on check-in and check-out evidence. In the US, many states require or encourage a written move-in condition checklist, and set deadlines for returning a deposit with an itemised list of deductions. Rules differ by country and state, so check the process that applies to your tenancy. The free tool’s report is a record of your observations, not an official inventory.
What next, once the inspection is done?
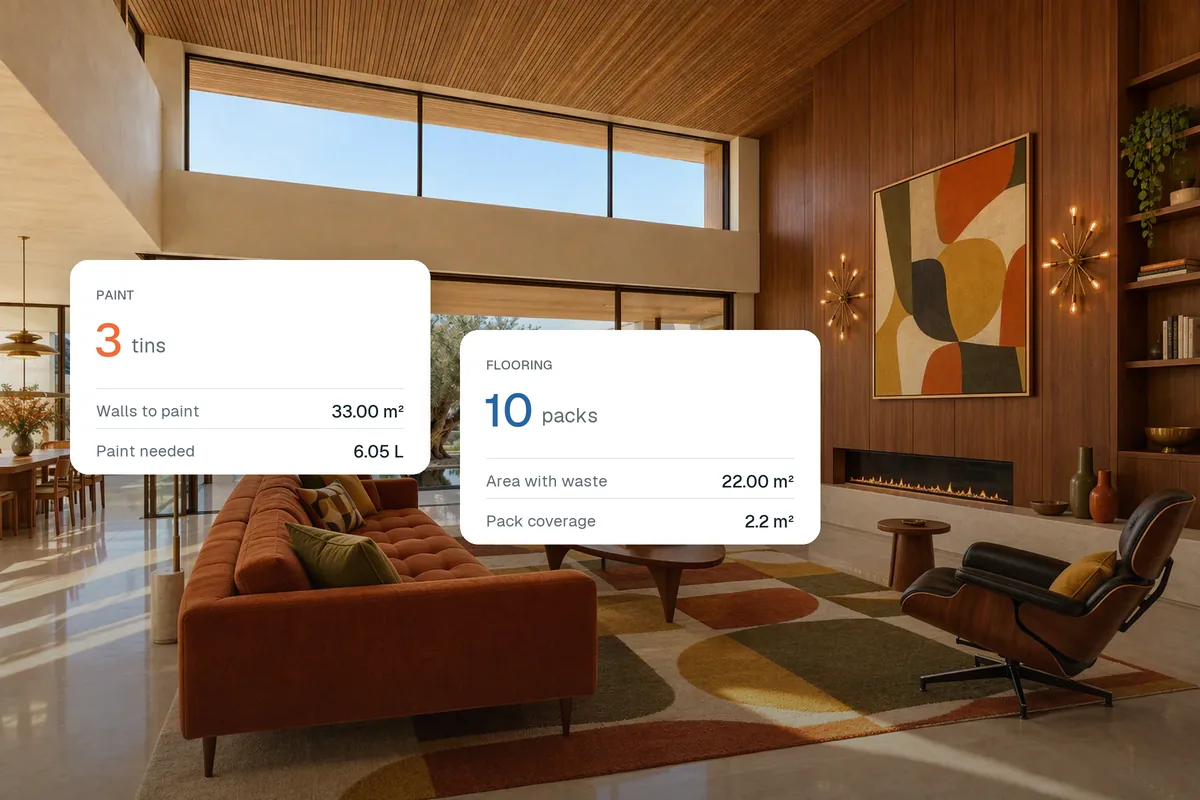
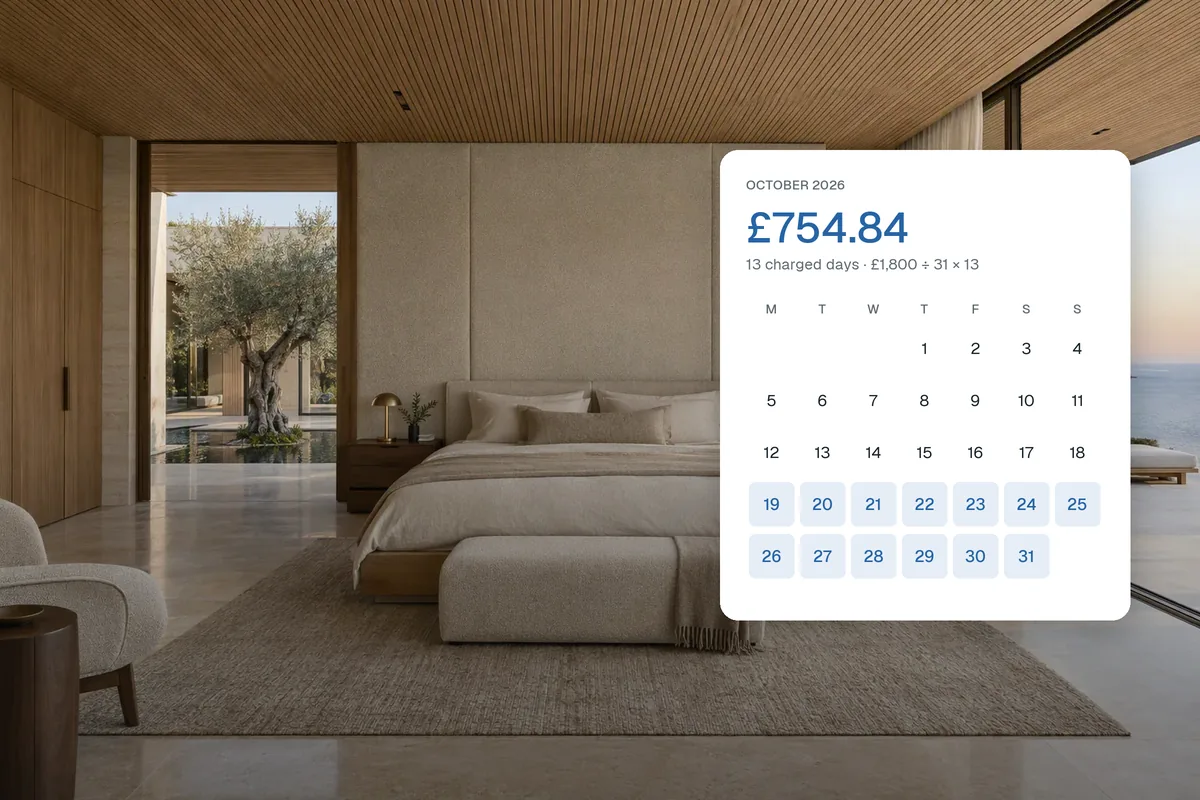
If a tenant is moving in mid-month, work out the part-month rent with the prorated rent calculator. If the property is about to be relet, the move-out visit is the perfect moment to plan the void works with the paint and flooring calculators, and to get listing photos ready. Splatr Virtual Studio can clean up and enhance photos taken on the day.
Put the guide into practice.
Turn your own photos into edited images and videos in minutes.
7-day free trial.