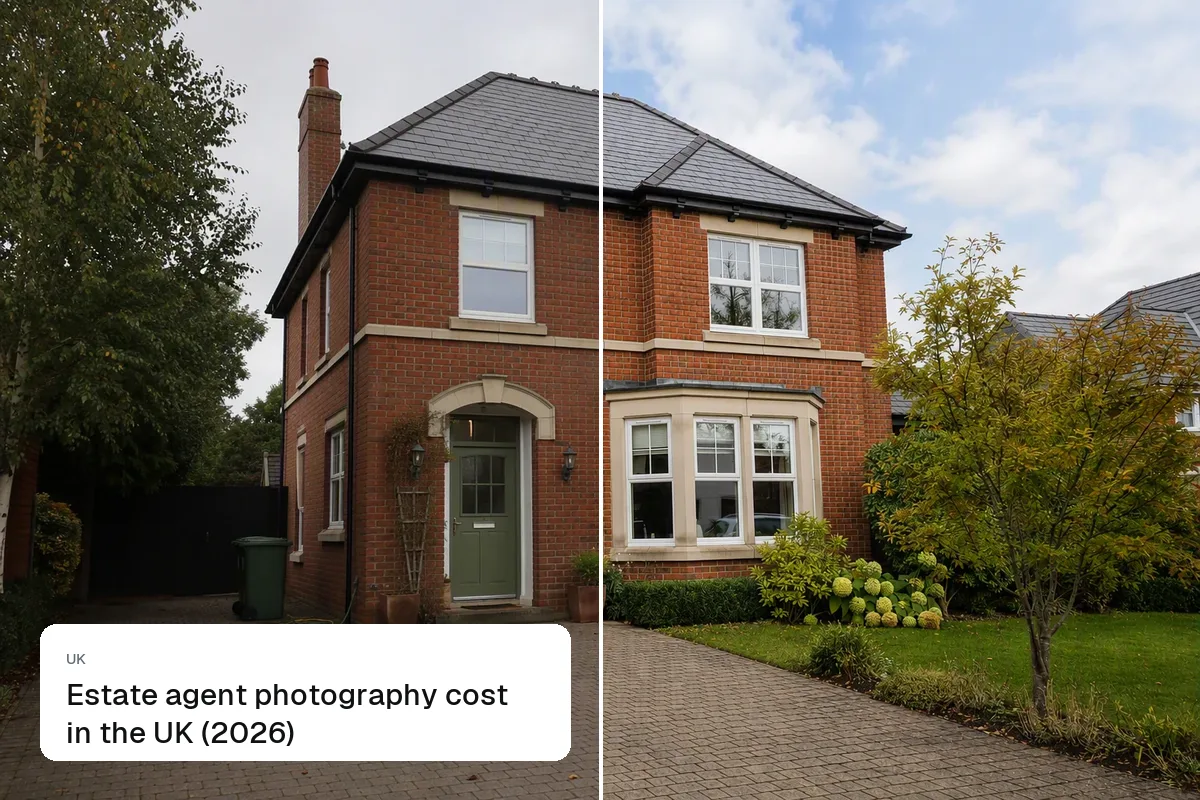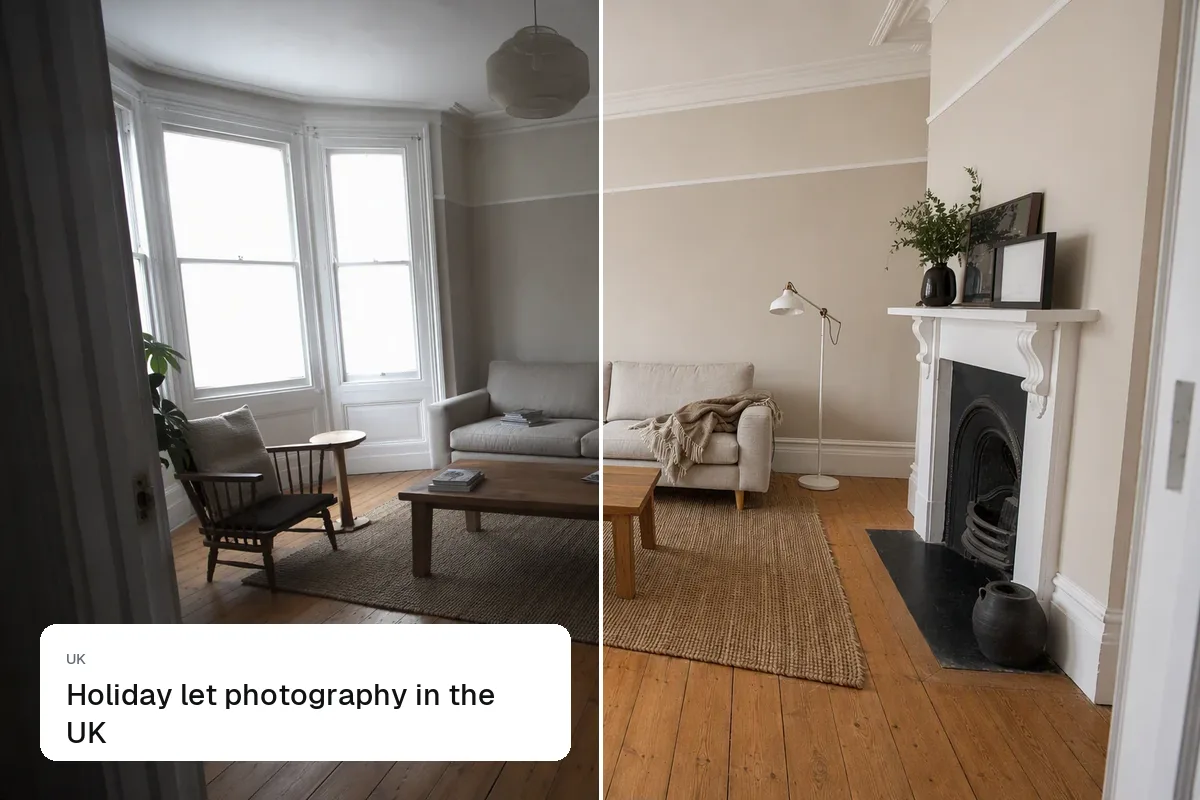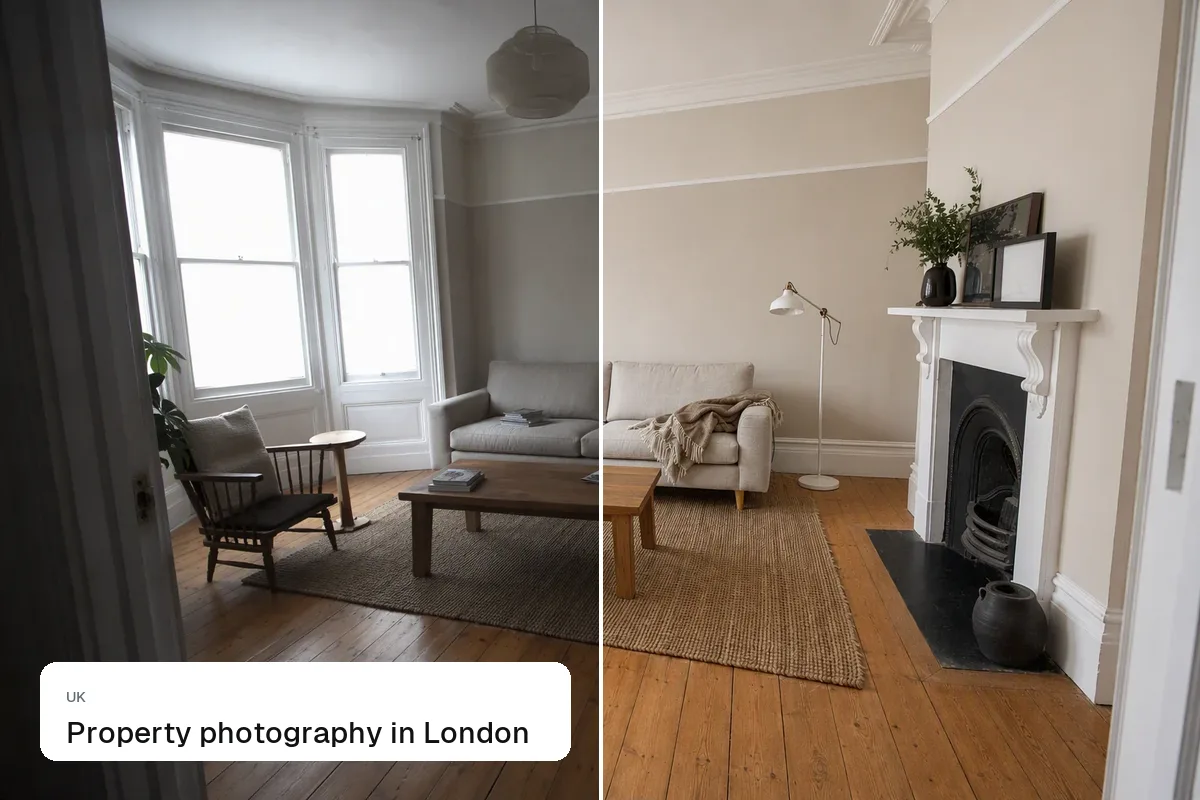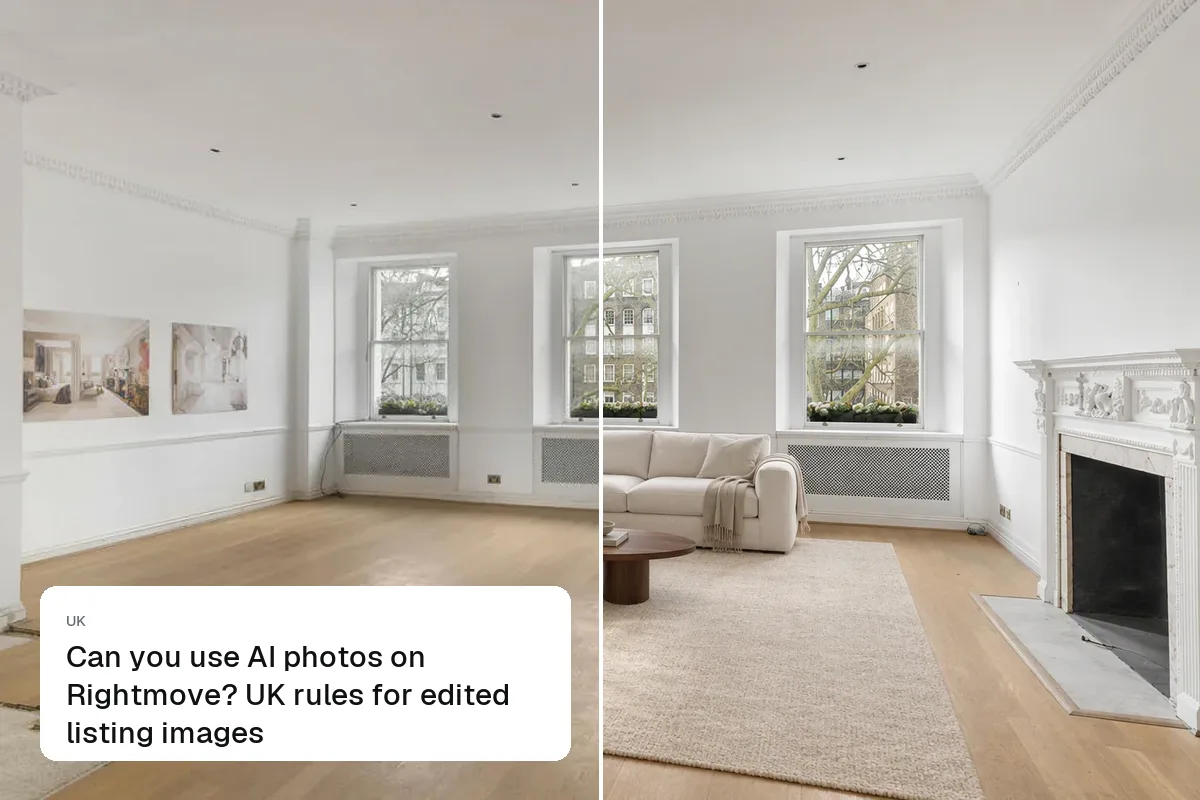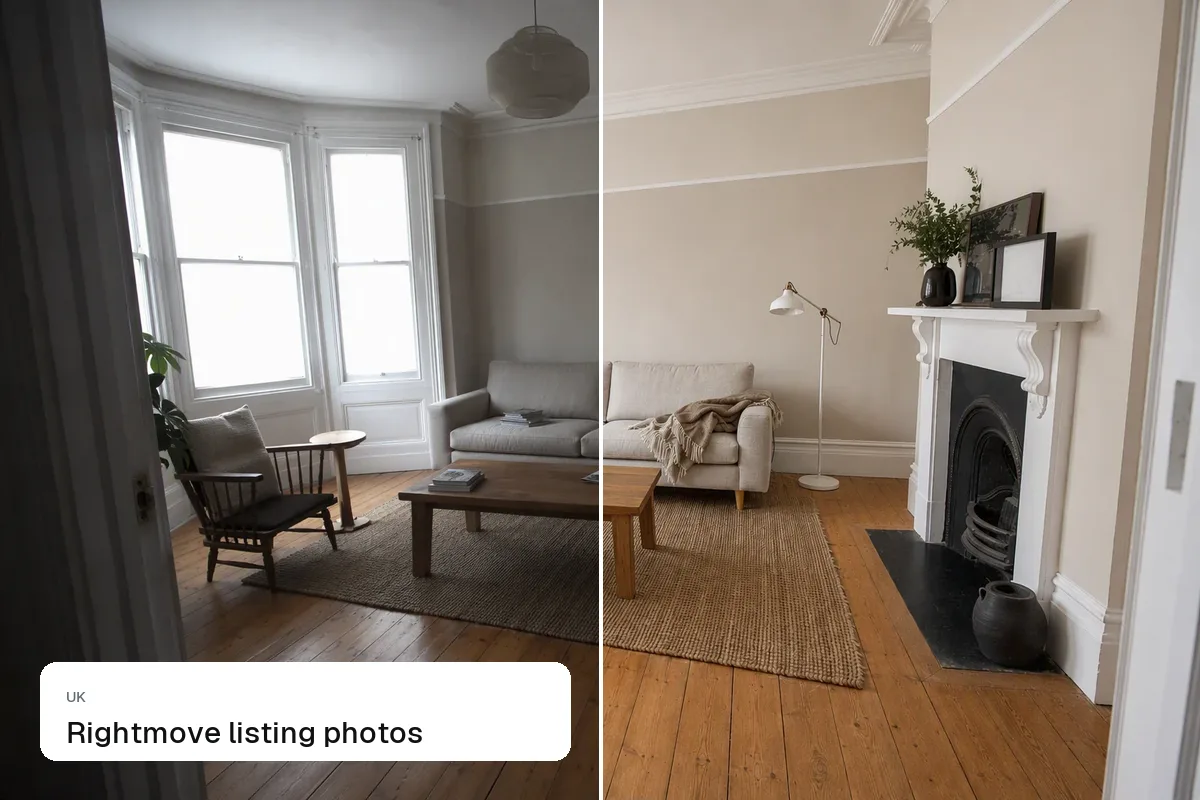
Good estate agent photos come from preparation, a level camera at chest height, daylight with every light on, and a quick edit. You don't need expensive equipment. Follow these twelve rules and phone photos will hold up on Rightmove next to professional ones.
Before you shoot
- Declutter: clear worktops, remove fridge magnets, bins, toiletries and personal photos.
- Make beds and straighten cushions and towels.
- Open curtains and blinds, turn on every light, including lamps.
- Shoot the exterior when the sun is on the front of the house.
While you shoot
- Hold the camera at chest height, about 1.2–1.5 m.
- Keep it level. Turn on the grid and keep vertical lines straight.
- Shoot from the doorway or a corner, showing two or three walls.
- Use the wide lens, not ultra-wide, so rooms don't look stretched.
- One photo per useful angle. Two per room is usually plenty.
- Landscape only for portals. Shoot separate vertical clips for social.
After you shoot
- Edit every photo the same way: exposure, white balance, verticals, windows.
- Label any staging and keep fixed features unchanged.
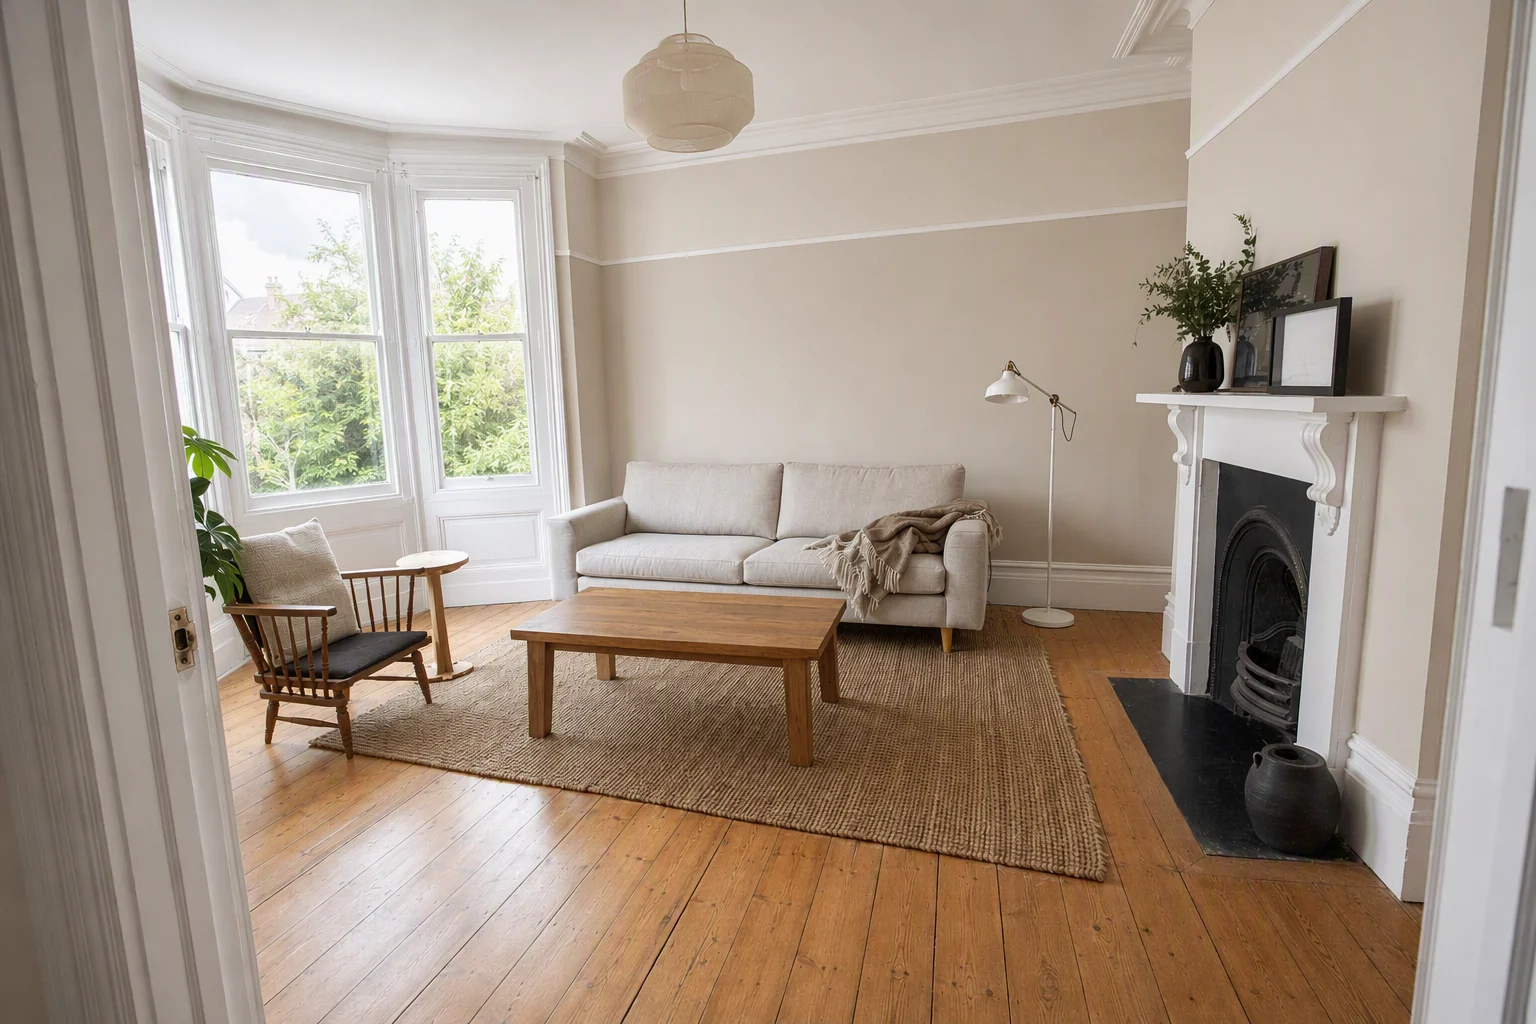
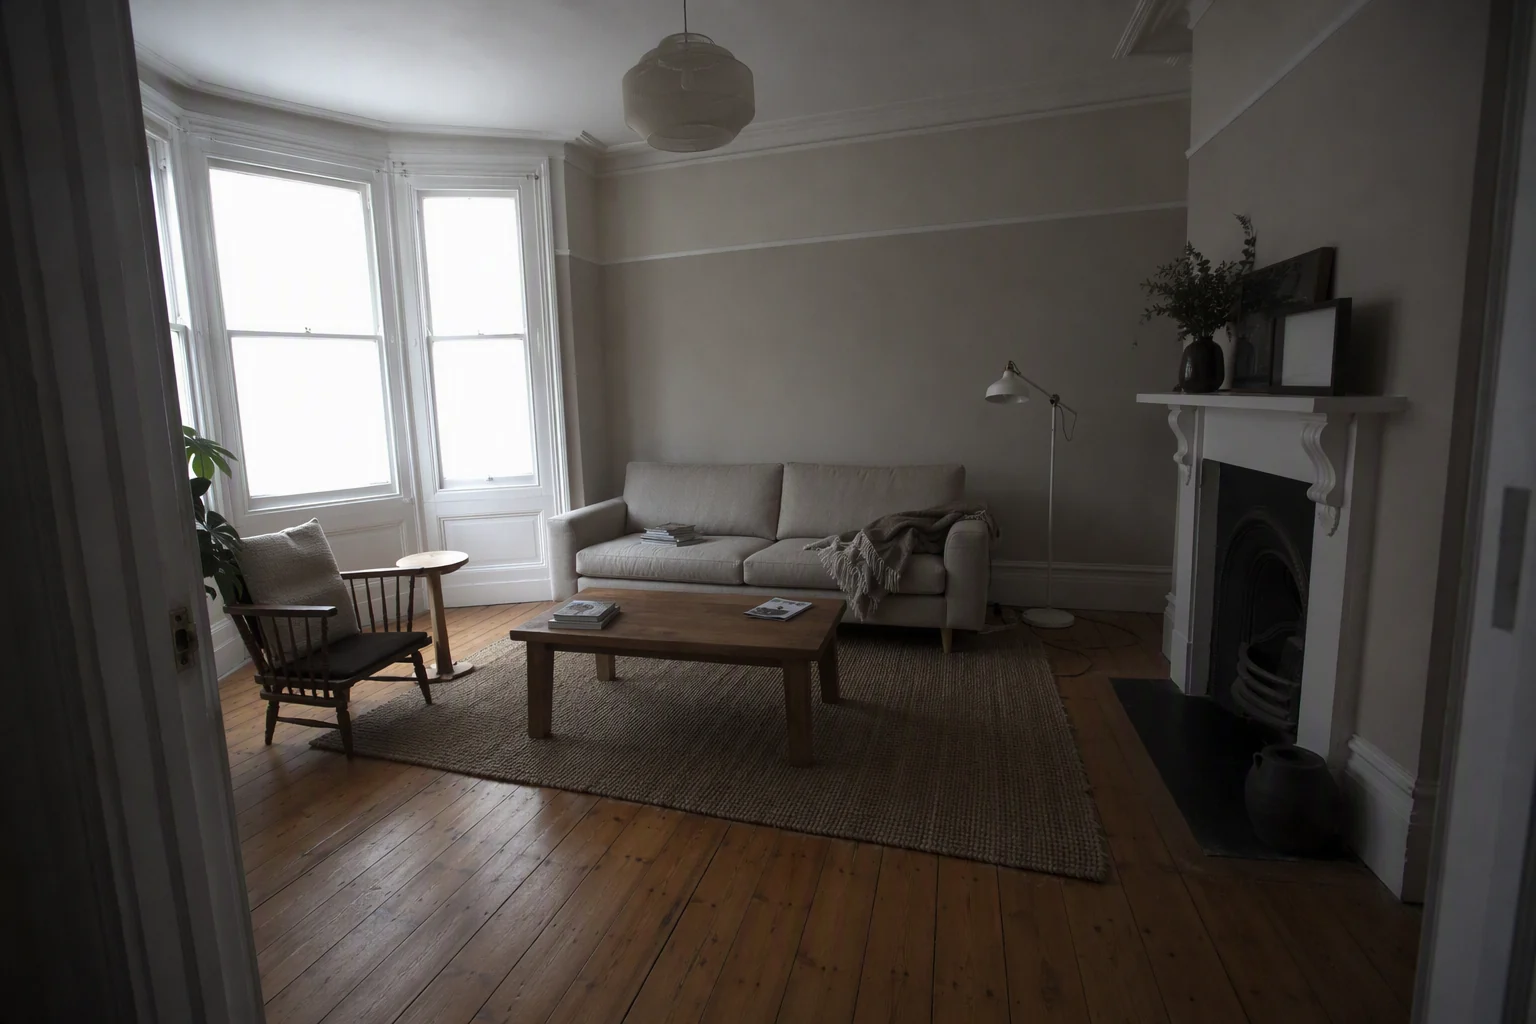
Equipment that helps
- A small tripod or monopod for consistent height
- A phone with a wide lens, or a camera with a 16–24 mm full-frame equivalent lens
- A cloth for the lens
See how to take real estate photos with an iPhone, how to edit real estate photos and Rightmove listing photos.
Put the guide into practice.
Turn your own photos into edited images and videos in minutes.
7-day free trial.